

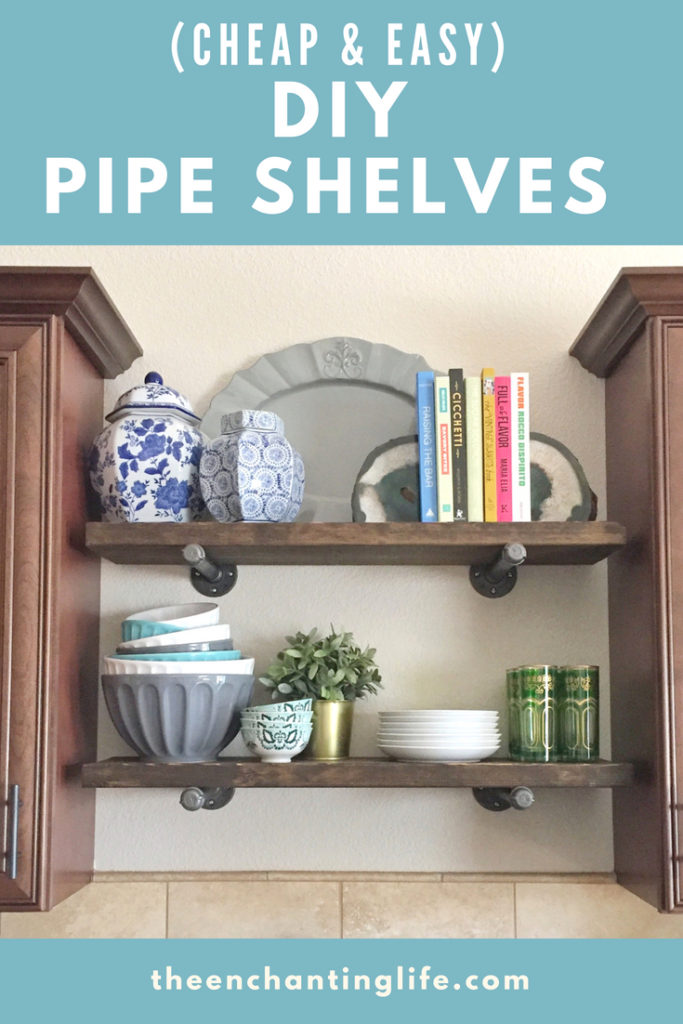
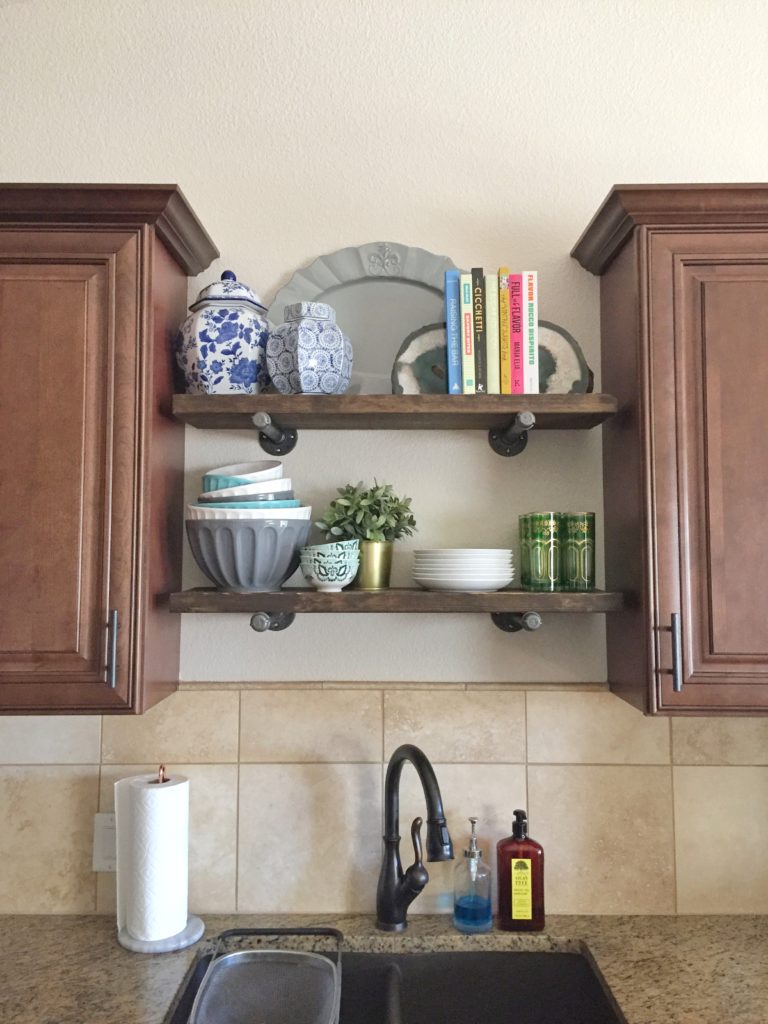
Last week on my Instagram Stories I posted about these industrial pipe floating shelves we built. I’ve had so many people messaging asking for more info so I thought I’d put together a quick tutorial and buying guide to make it easier.
Supplies Per Shelf:
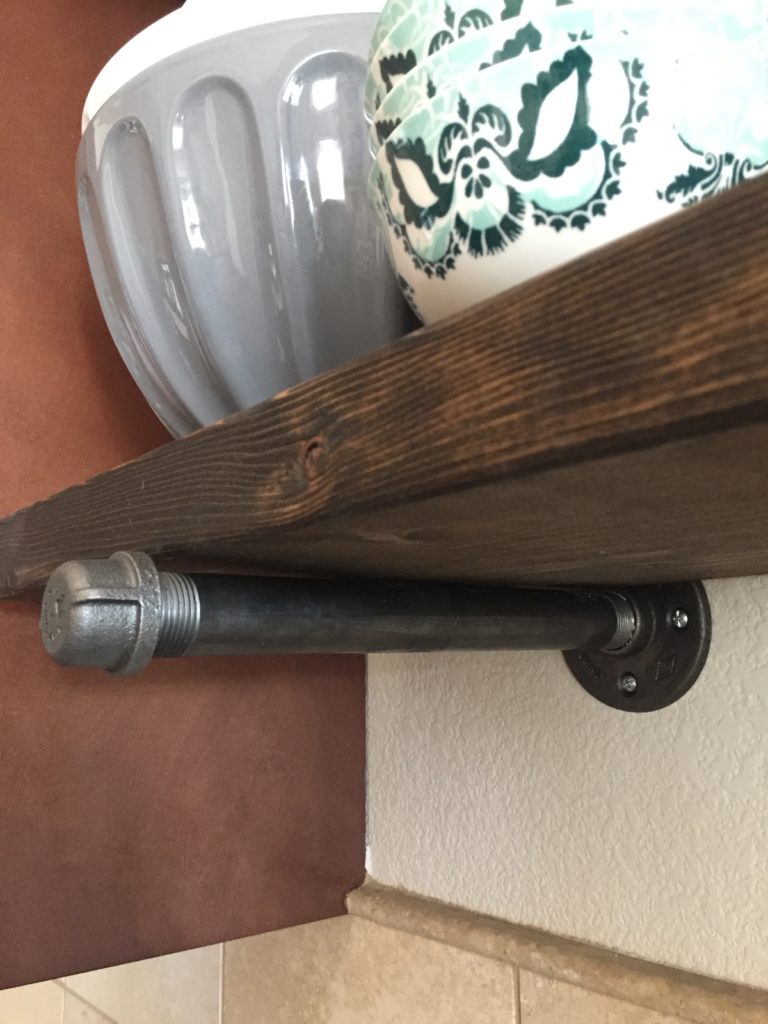
(2) Floor Flanges
(2) Pipe Caps
(1 pack) Drywall Anchors (comes with 50 but you just need 8/shelf)
(1) 2×10 Board cut to size (1 board can make 2 shelves up to 48″ each)
Dark Walnut Stain (just need 1 can – plenty for several shelves)
Optional: 2 hole straps (we didn’t add any to ours but they would add extra security to attach the pipe to the wood – you could spray paint black to match)
Make sure you ask Home Depot or Lowes to cut the lumber for you – they will do it for free and it’s so much easier than trying to measure it out and do it yourself!
Instructions:
Start by staining your 2 boards and letting them dry for at least 24 hours. Staining is pretty hard to mess up – with a paint brush apply a thin layer then quickly rub off any excess with a paper towel (make sure you wear gloves!) We only did one layer but you can additional layers if you want a darker color.
While the boards are drying you can install the piping. Measure out where you want the pipes to go and install the pipe flanges using 4 anchors/screws per flange (we installed ours about 5″ in from the ends of the board). Once installed you just screw in the pipe and add the cap then you’re ready for the boards to be placed on top – SO easy!
Make sure when you’re styling you don’t put a heavy object on the very edge of the board outside of the pipe or the board may flip up. Either evenly distribute the weight on both sides or put the heavy object in a ways from the edge (see how our mixing bowls and bookends are away from the edge a bit).
This project was so inexpensive compared to other floating shelf options. Each shelf comes out to about $38 and you will still have plenty of extra anchors and stain left over.
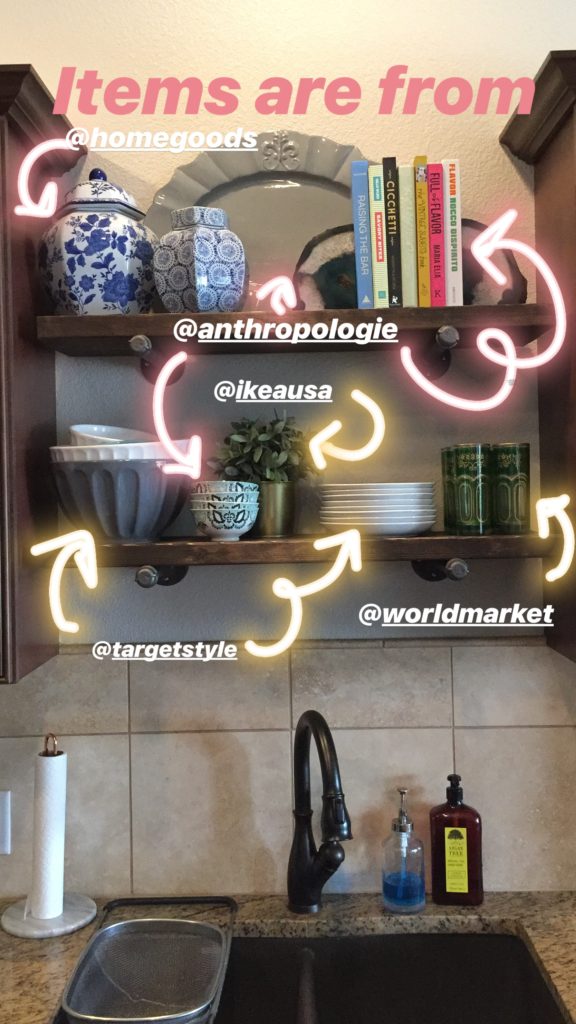
For those of you who asked, here’s where the accessories are from!
Don’t forget to follow me on Instagram (@natalie_massie) for more home decor and DIY projects!